How to Integrate Your LMS Using Pabbly

Imagine a new student enrolls in your course. Instantly, they receive a welcome email, their details are added to your CRM, and they’re enrolled in your Zoom onboarding session. It’s the power of LMS automation with Pabbly Connect.
If you’re tired of juggling repetitive admin tasks in your learning management system, like copying emails, sending manual reminders, or updating spreadsheets, this blog is for you. Pabbly allows you to integrate your LMS with 1000+ popular apps like Google Sheets, Mailchimp, HubSpot, Slack, and more, without writing a single line of code.
Make your LMS work smarter, not harder.
What is Pabbly Connect?
If you’ve ever wished your apps could just talk to each other and handle repetitive tasks automatically, Pabbly Connect is exactly what you need.
At its core,
Pabbly Connect is a no-code automation platform.
It helps you connect different apps (like your LMS, email marketing tool, Google Sheets, CRM, Zoom, and more) so they can share information and perform actions without manual input.
Imagine you run an online course. Every time a student signs up, you want
- A welcome email sent
- Their data added to your Google Sheet
- An event created in your calendar
Instead of doing all of this manually, you can set up a workflow in Pabbly Connect that automatically performs these steps when a new enrollment occurs. Just set it once, and it keeps running.
How Pabbly Connect Helps LMS Users
Running an LMS involves using multiple tools, from your course platform and payment gateway to email marketing, CRM, and calendar apps. That’s where Pabbly Connect steps in as your behind-the-scenes automation superhero.
Using triggers and actions, Pabbly Connect lets you automate repetitive tasks with ease.
This setup ensures nothing slips through the cracks. Pabbly works quietly in the background to streamline your entire LMS workflow, giving your learners a smooth, personalized experience from the very first click, all without manual work or coding.
What is a Trigger?
A trigger is the starting point of your automation. It’s an event that happens in your LMS (like BrainCert) that tells Pabbly Connect, “Hey, it’s time to do something!”
Example:
When a user signs up for a course, that event can trigger a workflow in Pabbly.
Think of it like pressing a button, once pressed, it sets everything else in motion.
What is an Action?
An action is the task that Pabbly performs after a trigger occurs. It’s the “what happens next” part of your automation.
Example:
Once the user signs up (trigger), Pabbly can automatically send them a welcome email, add their info to Google Sheets, or even register them for a Zoom webinar.
Actions save you time and make sure everything flows smoothly, without manual effort.
Understanding the Key Components of Integration
Before you dive into creating automated workflows between your LMS and Pabbly Connect, it’s important to understand two key components that make it all possible: webhooks and API keys.
Let’s break them down in simple terms.
What is a Webhook?
Think of a webhook like a doorbell for your LMS.
When someone rings your doorbell, it instantly notifies you that someone is at the door; you don’t need to keep checking. Similarly, when a specific event happens in your LMS (like a user signing up or purchasing a course), a webhook instantly notifies Pabbly Connect, which then triggers the automation you’ve set up.
In Simple Terms:
- You set a webhook URL in your LMS (provided by Pabbly).
- Your LMS sends real-time data to that URL when a specific event happens.
- Pabbly receives this data and starts the workflow automatically.
Example:
A new user registers on your LMS → the webhook is triggered → Pabbly Connect captures that info → an email is sent via Gmail, or the user is added to a Google Sheet.
This real-time connection allows you to act immediately, without checking or refreshing your LMS for updates.
What is an API Key?
An API key is like your system’s secret handshake, a unique identifier that allows two systems to trust and talk to each other.
When Pabbly Connect needs to take action within your LMS, such as enrolling a user, creating a course, or sending data, it uses the API key to authenticate the request.
Why It Matters:
- Ensures secure communication between your LMS and Pabbly Connect.
- Prevents unauthorized access or tampering with your LMS data.
- Required for most “Action” steps in workflows (like enrolling users or updating profiles).
How to Securely Use and Store Your LMS API Key in Pabbly Connect
When you’re using Pabbly Connect to perform actions in your LMS, like enrolling a student, updating user data, or retrieving course progress, you’ll often need to use an API key to authorize the connection.
Think of the API key as your LMS’s password for external tools. It’s sensitive and should be handled carefully.
Best Practices for Using API Keys in Pabbly:
- Never share your API key publicly, even in screenshots or tutorials.
- Use environment variables or secure fields in Pabbly Connect (if available) to store your key.
- Restrict permissions where possible, use keys that only allow specific access (e.g., read-only).
- Regenerate your API key if it’s ever exposed or compromised.
- Label it properly inside your LMS dashboard so you know which app it’s used for (e.g., “Pabbly Integration Key”).
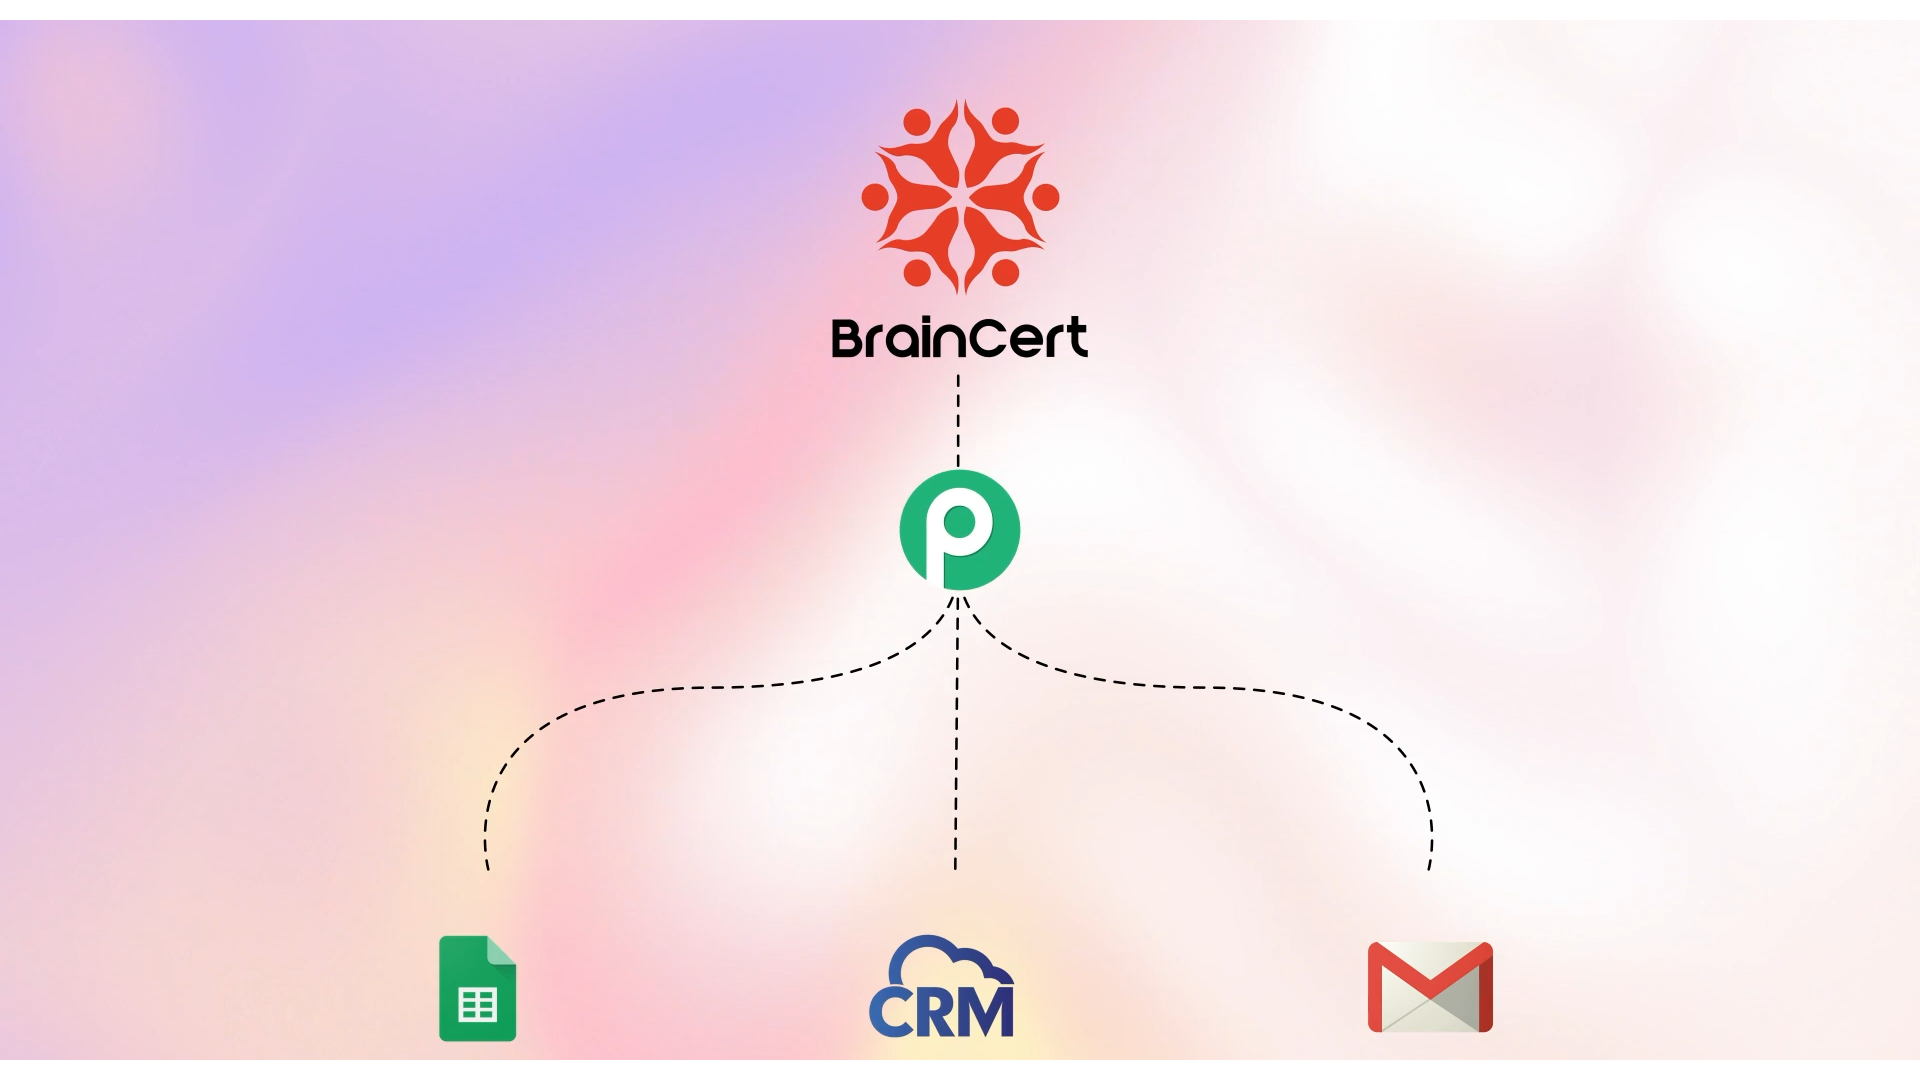
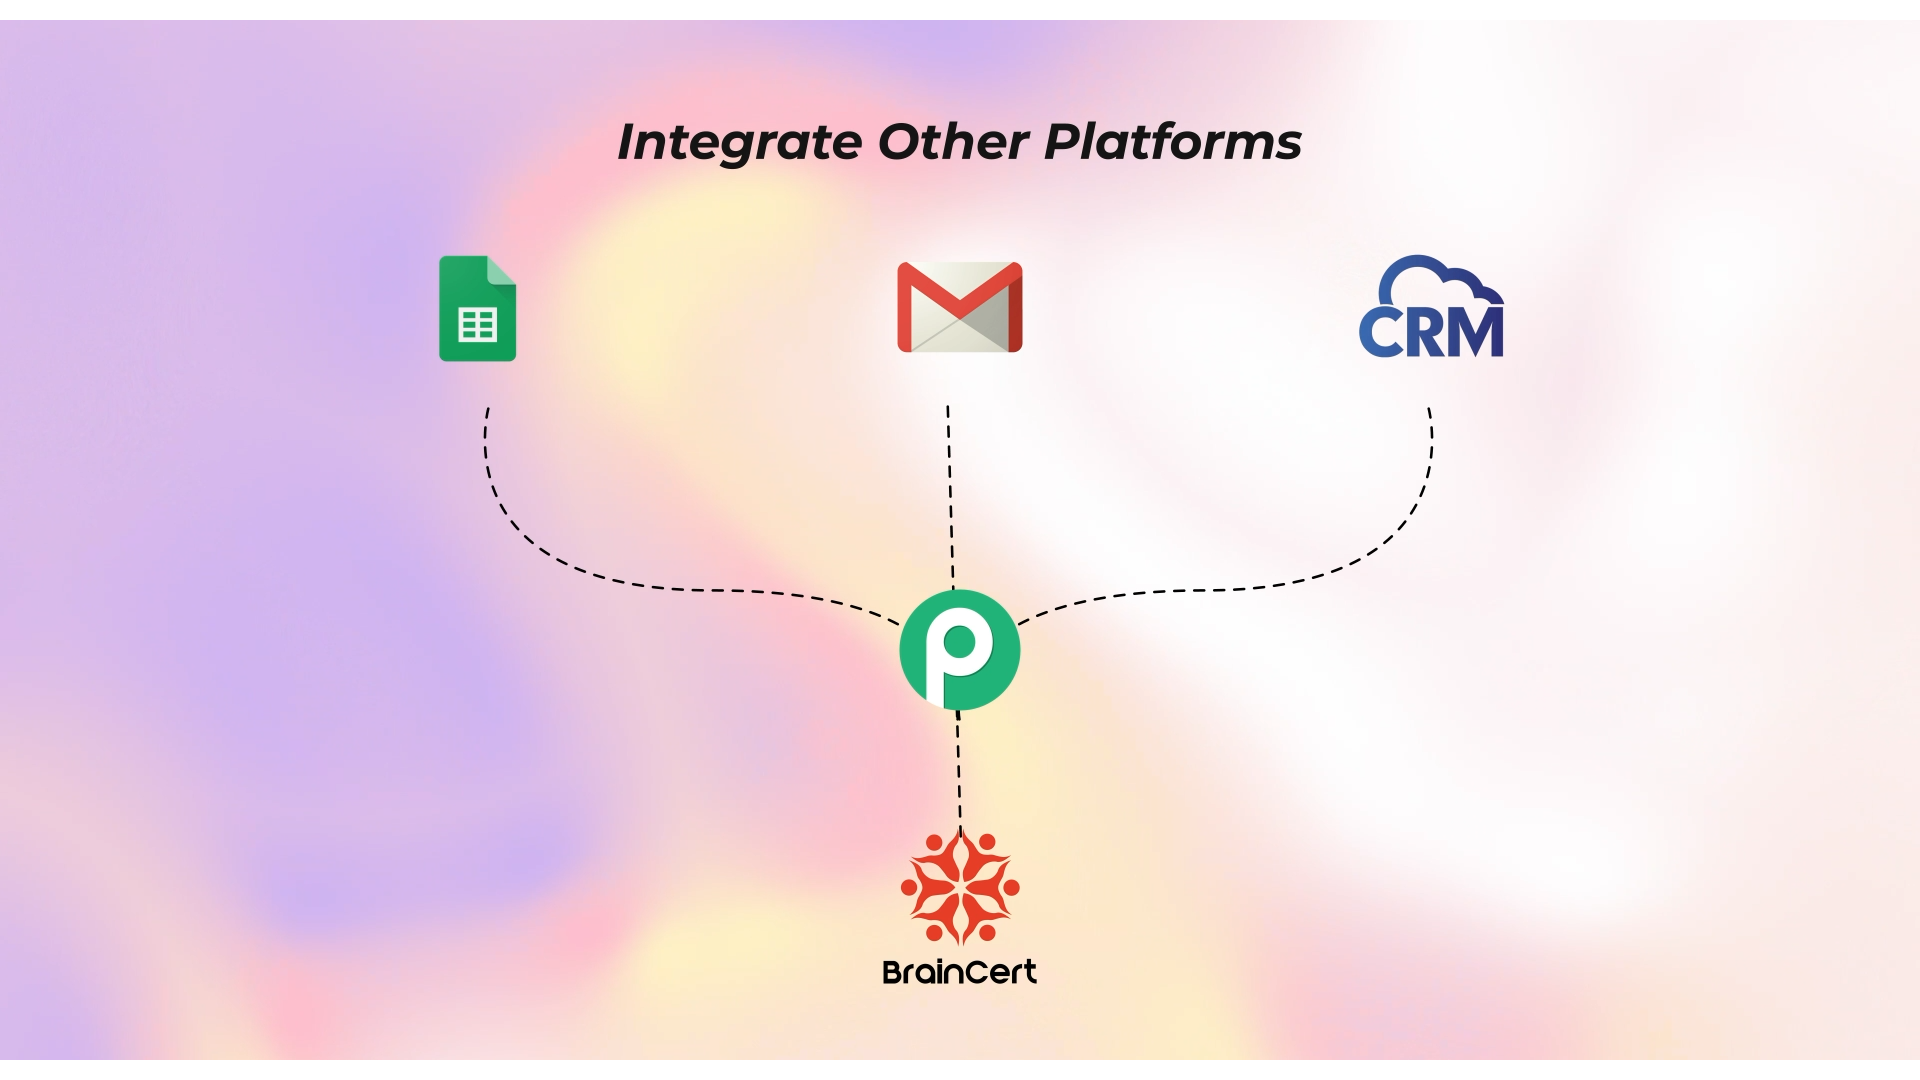
How to Integrate BrainCert with Pabbly Connect
Running an LMS like BrainCert is exciting, but managing everything manually? Not so much.
From enrolling students after purchase to syncing course data across your tools, repetitive tasks can eat up a lot of your time. That’s where Pabbly Connect comes in, your automation buddy that helps BrainCert talk to other apps you use daily, like Gmail, Google Sheets, Zoom, Mailchimp, and more.
How the Integration Works
The integration between BrainCert and Pabbly works through two core elements:
- Triggers – Events that happen in BrainCert (e.g., new course purchase, user registration).
- Actions – What you want to happen next in another app (e.g., send email, enroll user, update record).
Step-by-Step Guide
Here’s how to go from “manual madness” to “fully automated” using BrainCert + Pabbly:
Step 1: Sign Up for Pabbly Connect
Head over to Pabbly Connect and sign up. Once you’re in, you’ll land on the dashboard where all your workflows live.
Step 2: Create a New Workflow
Click “Create Workflow,” give it a name like “New BrainCert Student → Welcome Email,” and hit Create.
This opens the visual workflow builder, your canvas to connect the dots.
Step 3: Set BrainCert as the Trigger App
Now, let’s tell Pabbly what to listen for.
Search for “BrainCert” in the trigger app list. If you’re capturing a real-time event like “New User Registered” or “Course Purchase,” select the relevant trigger. If it’s a custom setup, use Webhook by Pabbly.
Pabbly will now give you a Webhook URL.
Step 4: Add the Webhook URL in BrainCert
Hop over to your BrainCert Admin Panel.
- Go to Developer Settings > Webhooks
- Paste the webhook URL from Pabbly
- Choose the event you want to track (e.g., “User Signup,” “Course Completion”)
Now, anytime this event happens in BrainCert, it’ll notify Pabbly instantly.
Step 5: Test the Trigger
To make sure everything’s wired correctly, do a test.
Example: If your trigger is “New User Signup,” go to BrainCert and register a test user.
Back in Pabbly, hit “Capture Webhook Response” and you’ll see the data appear.
Success! Your LMS is officially talking to Pabbly.
Step 6: Add an Action App
Now let’s decide what should happen after the trigger.
Some examples:
- Send a welcome email via Gmail or SendGrid
- Add user details to a Google Sheet
- Subscribe the user to Mailchimp or ConvertKit
- Add event to Google Calendar or Zoom
Choose your app, select the action, and connect your account when prompted.
Step 7: Use BrainCert API Key (If Required)
For some actions (like enrolling a user back into BrainCert), Pabbly will ask for your BrainCert API key.
Paste it in Pabbly, and you’re good to go. This authenticates the connection so only you can make changes to your LMS.
Step 8: Map the Data Fields
Now you’ll match the data from the trigger (like name, email, course ID) to the fields in your action app.
It’s a simple drag-and-drop setup, just make sure everything lines up (email goes to email, name to name, etc.).
Step 9: Save and Test Your Workflow
Once everything looks good, hit Save & Send Test Request.
Run a full test: Sign up a new user in BrainCert and watch the automation fire, email sent, data added, user enrolled.
If it all works, turn on your workflow, and that’s it!
Popular BrainCert + Pabbly Automation Ideas
Not sure where to start?
Here are some real-life automation ideas you can implement today:
- Auto-enroll learners after payment through Stripe, Razorpay, or PayPal
- Send personalized welcome emails via Gmail or SendGrid after registration
- Add new learners to a Google Sheet for easy tracking or reporting
- Subscribe learners to your Mailchimp list for newsletters or drip campaigns
- Trigger Slack or Teams notifications when someone completes a course
- Schedule a Zoom session automatically when a learner joins a live class
- Tag users in your CRM (like HubSpot or Zoho) for post-course sales or upselling
With Pabbly’s growing app library, the automation possibilities are nearly endless.
To Conclude
Integrating BrainCert with Pabbly Connect isn’t just about saving time; it’s about creating a seamless, hands-free learning experience for you and your learners. With just a few steps, you can automate everything from enrollments and emails to syncing data across platforms.
So go ahead, set up your first workflow, watch the magic happen, and focus more on what truly matters: delivering great education.
Check out our detailed KB articles and support guides.


